When it comes to transferring your domain from Bluehost to Namecheap, there are a few key steps you need to follow. Did you know that Namecheap is one of the leading domain registrars, known for its affordable prices and user-friendly interface? With a simple and straightforward process, transferring your domain can be a seamless experience.
To transfer your domain from Bluehost to Namecheap, you’ll first need to unlock your domain and obtain the authorization code from Bluehost. Then, you can initiate the transfer process on Namecheap’s website by providing the domain name, authorization code, and completing the necessary payment. It’s important to remember that during the transfer process, your website and email services may experience temporary downtime, so it’s advisable to schedule the transfer during a period of low website traffic. With Namecheap’s reliable customer support and competitive pricing, transferring your domain has never been easier.
Transferring a domain from Bluehost to Namecheap is a straightforward process. First, unlock your domain in Bluehost and obtain the transfer authorization code. Next, go to Namecheap’s transfer page and enter your domain. Follow the prompts to complete the transfer request and provide the authorization code. Once the transfer is initiated, you may receive an email from Bluehost to confirm. Confirm the transfer, and within 5-7 days, your domain will be successfully transferred to Namecheap.
Understanding the Domain Transfer Process
If you currently have a domain registered with Bluehost and want to transfer it to Namecheap, you may be wondering about the process and how to go about it. Transferring a domain involves moving it from one domain registrar to another, in this case, from Bluehost to Namecheap. This process allows you to manage your domain and website through a different registrar while keeping the same domain name.
Before you initiate the domain transfer, it’s important to understand a few key aspects to ensure a smooth transition. Firstly, you need to verify that your domain is eligible for transfer. Generally, most generic top-level domains (gTLDs) like .com, .net, and .org can be transferred, but there are some exceptions. For instance, if your domain is less than 60 days old, locked or on hold, or involved in a legal dispute, it may not be eligible for transfer.
To begin the transfer process, you will need to obtain an authorization code or EPP code from Bluehost. This code is unique to your domain and is provided to you upon request. It serves as a security measure to ensure that only the authorized owner can transfer the domain. Once you have the authorization code, you can proceed with the transfer to Namecheap. It’s essential to note that initiating a domain transfer will typically incur a fee, which varies depending on the registrar.
When transferring your domain, it’s crucial to ensure that your website and email services are not affected. You should back up your website files and databases before initiating the transfer. Additionally, if you have custom email addresses linked to your domain, make sure to set up email forwarding or transition to a new email provider to avoid disruptions in communication.
Preparing Your Domain for Transfer
Before initiating the transfer process, there are a few steps you need to take to prepare your domain for transfer. These steps will help ensure a smooth transition and minimize any potential downtime or disruptions. Let’s explore these steps:
1. Unlock Your Domain
By default, many domain registrars lock domains to prevent unauthorized transfers. Before initiating the transfer, you need to unlock your domain. This can typically be done through your Bluehost account. Login to your Bluehost account, navigate to the domain management section, and locate the option to unlock the domain. Follow the instructions provided by Bluehost to unlock your domain.
2. Obtain the Authorization Code
The next step is to obtain the authorization code or EPP code from Bluehost. This code is required to initiate the transfer process with Namecheap. To obtain the code, log in to your Bluehost account and navigate to the domain management section. Locate the option to request the authorization code or EPP code and follow the provided instructions. Once you have the code, make sure to save it as you will need it during the transfer process.
3. Verify Contact Information
Before proceeding with the transfer, it’s essential to ensure that the contact information associated with your domain is up to date and accurate. This information includes the domain owner’s name, email address, and physical address. Check with Bluehost to verify and update this information if necessary. Having accurate contact information is crucial as it will be used to authorize the transfer and ensure that you receive important notifications throughout the process.
4. Disable Privacy Protection
If you have privacy protection enabled for your domain, it’s important to disable it before initiating the transfer. Privacy protection hides your personal contact information from the public WHOIS database. However, this feature can interfere with the transfer process as it restricts access to your contact information. Disable privacy protection through your Bluehost account to ensure a smooth transfer process.
Initiating the Domain Transfer
Once you have completed the necessary preparations, you can initiate the domain transfer from Bluehost to Namecheap. Follow these steps to initiate the transfer:
1. Obtain Namecheap’s Transfer Process
Visit Namecheap’s website and familiarize yourself with their domain transfer process. This will help you understand the steps involved and any specific requirements or documentation needed for the transfer. Namecheap provides detailed instructions and support documentation to guide you through the process.
2. Initiate the Transfer
Once you are ready to transfer, go to Namecheap’s domain transfer page and enter your domain name. Follow the instructions provided to start the transfer process. You will likely be prompted to enter the authorization code or EPP code obtained from Bluehost. Provide the code when prompted, and Namecheap will initiate the transfer.
3. Approve the Transfer
After initiating the transfer, you will receive an email from Namecheap with instructions to approve the transfer. This email will be sent to the email address associated with your domain’s contact information. Follow the instructions in the email to approve the transfer. Approving the transfer allows Namecheap to complete the process and take ownership of your domain.
4. Wait for the Transfer to Complete
Once you have approved the transfer, you will need to wait for the transfer to complete. The duration of the transfer process can vary and is influenced by factors such as the domain extension and registrar processes. During this time, it’s important to avoid making any changes to your domain settings or initiating any additional transfers. Be patient and allow Namecheap to handle the transfer on your behalf.
Post-Transfer Considerations
After the domain transfer is complete, there are a few post-transfer considerations to keep in mind:
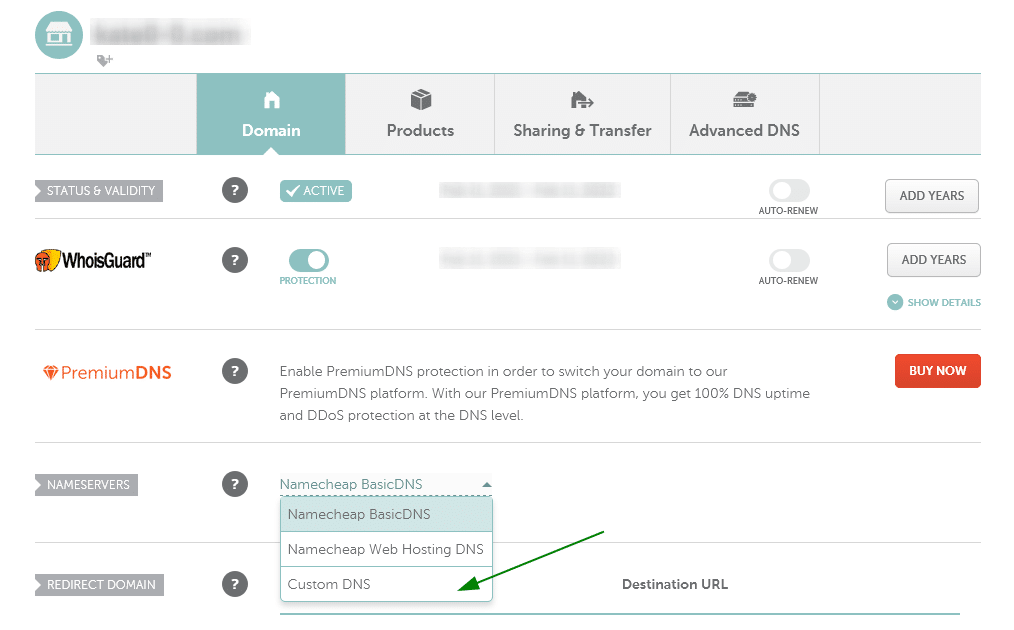
1. Update DNS Settings
Once your domain is transferred to Namecheap, you will need to update the DNS settings to ensure your website and email services continue to function properly. Namecheap provides instructions on how to update the DNS settings in their support documentation. Follow the provided instructions or consult Namecheap’s support team for assistance.
2. Verify Website Functionality
After updating the DNS settings, it’s crucial to verify that your website is functioning correctly. Check all the pages, links, and functionalities to ensure everything is working as intended. If you encounter any issues, troubleshoot them using the available resources or reach out to Namecheap’s support team for assistance.
3. Set Up Email Services
If you had custom email addresses associated with your domain, you will need to set up email services with Namecheap or transition to a new email provider. Namecheap offers email services that you can use to maintain your custom email addresses. Follow Namecheap’s documentation or contact their support team for guidance on setting up your email services.
4. Contact Bluehost to Confirm Transfer Completion
Once the transfer is complete, it’s a good idea to contact Bluehost and confirm that the domain has been successfully transferred. This verification step will give you peace of mind and ensure that all processes have been completed correctly. If you encounter any issues or discrepancies, reach out to Bluehost’s support team for assistance.
Transferring a domain from Bluehost to Namecheap offers you the flexibility to manage your domain and website through a different registrar. By following the necessary steps and considering the post-transfer considerations, you can ensure a smooth transition and continue operating your online presence hassle-free with Namecheap.
For more information on domain transfers and managing your online presence, visit Namecheap’s website.
Key Takeaways – How to Transfer Domain From Bluehost to Namecheap?
- Transferring a domain from Bluehost to Namecheap involves a few steps.
- First, make sure your domain is eligible for transfer.
- Unlock your domain and obtain the transfer authorization code from Bluehost.
- Initiate the domain transfer process with Namecheap, providing the necessary information and authorization code.
- Confirm the transfer request and wait for the domain to be transferred to Namecheap.
Transferring a domain from Bluehost to Namecheap is a straightforward process. First, unlock your domain in the Bluehost cPanel, then retrieve the authorization code. Next, log in to your Namecheap account, choose the “Transfer Domains” option, and enter your domain name. Paste the authorization code and proceed to checkout. Confirm the transfer and wait for the email confirmation from Namecheap. Finally, update your domain settings and DNS configuration to complete the transfer.
Remember to backup your website files and emails before initiating the transfer. Additionally, ensure that your domain is at least 60 days old and not involved in any legal or financial disputes. By following these simple steps, you can smoothly transfer your domain from Bluehost to Namecheap and enjoy their reliable and affordable domain services.