
To install Composer on shared hosting, follow these steps:
- Access your shared hosting account’s cPanel or control panel.
- Locate the “Terminal” or “SSH” option and open it.
- Connect to your hosting account using SSH.
- Once connected, navigate to the directory where you want to install Composer.
- Run the following command to download and install Composer:
curl -sS https://getcomposer.org/installer | phpComposer will now be installed on your shared hosting account, allowing you to manage your PHP dependencies with ease.
Remember, make sure your hosting provider allows Composer installations and SSH access before attempting these steps.
Installing Composer on shared hosting can be a daunting task for many developers. However, with the right guidance, it is possible to make the process smoother and more efficient. While shared hosting environments have their limitations, there are still ways to utilize Composer and its powerful features. So, let’s explore some techniques that will help you install Composer on shared hosting seamlessly.
Firstly, it’s important to understand the background of Composer. Developed by Nils Adermann and Jordi Boggiano, Composer is a dependency management tool for PHP. It simplifies package management and allows you to easily track and install the required libraries and libraries for your project. Despite its benefits, many shared hosting providers do not have Composer pre-installed, making it necessary to set it up manually. By following a few key steps, such as downloading the Composer binary and configuring your hosting environment, you can successfully install Composer on shared hosting and leverage its capabilities for your projects.
Introduction to Installing Composer on Shared Hosting
If you’re a developer working with shared hosting, you may have come across the need to install Composer. Composer is a dependency management tool that is widely used in PHP projects. It simplifies the process of managing dependencies and libraries, making it easier to build and maintain PHP applications. However, installing Composer on a shared hosting environment can be a bit challenging since you don’t have full control over the server. In this article, we will explore the steps to install Composer on shared hosting and provide you with a comprehensive guide to get started.
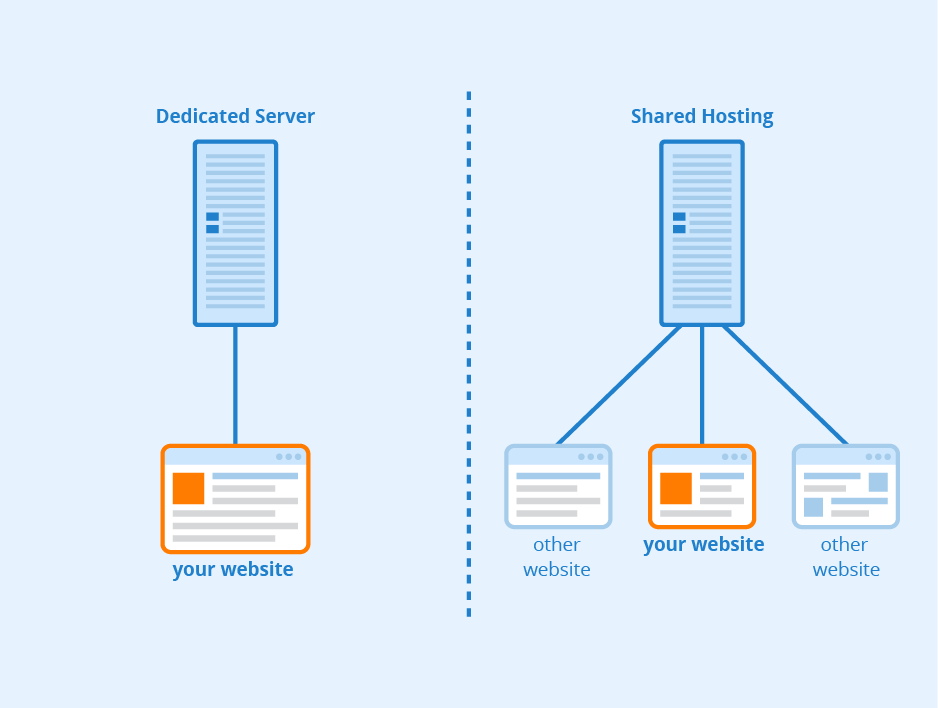
Before we delve into the installation process, it’s important to understand what shared hosting is. Shared hosting is a type of web hosting where multiple websites are hosted on a single server. Each website on the server shares the server resources, such as disk space, CPU, and memory. It is a cost-effective solution for small websites that don’t require a dedicated server. However, the limitations of shared hosting can sometimes make it challenging to perform certain tasks, such as installing Composer.
Now, let’s take a look at how you can install Composer on shared hosting.
Step 1: Check PHP Version
The first step before installing Composer on shared hosting is to ensure that you have a compatible PHP version. Composer requires PHP version 5.3.2 or higher to function properly. To check your PHP version, you can create a PHP info file and access it through your web browser. Here’s how:
- Create a new file on your shared hosting server and name it
phpinfo.php - Open the file in a text editor and add the following code:
<?php
phpinfo();
?>
Save the file and upload it to the root directory of your website. You can use an FTP client like FileZilla to upload the file. Once uploaded, you can access the file through your web browser by visiting http://yourdomain.com/phpinfo.php (replace yourdomain.com with your actual domain name). This will display the PHP information, including the version number. Make sure the PHP version is 5.3.2 or higher before proceeding to the next step.
Step 2: Download Composer
Once you have verified the PHP version, the next step is to download the Composer installer. Composer provides a command-line installer script that will set up the necessary files and dependencies for Composer to work. Here’s how you can download the installer:
- Open a web browser and navigate to the Composer website (https://getcomposer.org/download/)
- On the download page, you will see the command to download the installer script. It should look something like this:
php -r "copy('https://getcomposer.org/installer', 'composer-setup.php');"Copy the command and open an SSH client, such as PuTTY, to connect to your shared hosting server. Once connected, navigate to the directory where you want to store the Composer installer. Paste the command into the SSH client and press Enter to download the installer script.
After running the download command, you will have a file named composer-setup.php in the directory. This file is the Composer installer script that will be used in the next step to install Composer.
Step 3: Install Composer
With the Composer installer script downloaded, you can now proceed to install Composer on your shared hosting server. Follow these steps to complete the installation:
- Open an SSH client and connect to your shared hosting server
- Navigate to the directory where the Composer installer script is located
- Run the following command to install Composer:
php composer-setup.phpRunning the command will start the installation process and create a composer.phar file in the current directory. This file is the Composer executable, and you can use it to manage dependencies in your PHP projects.
Step 4: Move Composer Executable
After the installation is complete, you can move the Composer executable file to a location that is easily accessible on your shared hosting server. Here’s what you need to do:
- Run the following command to move the
composer.pharfile to the/usr/local/bindirectory:
mv composer.phar /usr/local/bin/composerThis will move the Composer executable to the /usr/local/bin directory and rename it to “composer.” By doing this, you can access Composer from anywhere on your shared hosting server by simply typing “composer” in the command line.
Troubleshooting Composer Installation on Shared Hosting
While the installation process is usually straightforward, you may encounter some errors or issues when installing Composer on shared hosting. Here are a few common problems and their solutions:
Insufficient Memory
If you receive an error message stating that “PHP Fatal error: Allowed memory size exhausted,” it means that the default memory limit for PHP is not sufficient to install Composer. To resolve this issue, you can increase the memory limit by adding the following line to your .htaccess file:
php_value memory_limit 128MThis will increase the memory limit to 128MB. If the error persists, you may need to contact your hosting provider and ask them to increase the memory limit for your shared hosting account.
PHP Extensions Missing
Composer relies on certain PHP extensions to function properly. If you encounter an error related to missing PHP extensions during the installation, you can contact your hosting provider and ask them to enable the required extensions. Alternatively, if you have access to a custom PHP.ini file, you can enable the extensions yourself by adding the following lines:
extension=extension_nameReplace extension_name with the name of the extension you need to enable. For example, if you need to enable the curl extension, the line would be:
extension=curlFile Permissions
If you encounter issues related to file permissions during the installation, make sure that the necessary files and directories have the correct permissions. The Composer installer and the executable file should be executable by the web server. You can use the following commands to set the correct permissions:
chmod +x composer-setup.php
chmod +x /usr/local/bin/composer
These commands make the installer script and the Composer executable executable by the web server, allowing them to be run and accessed.
Conclusion
Installing Composer on shared hosting can be a bit challenging due to the limitations imposed by the hosting environment. However, by following the steps outlined in this article, you should be able to successfully install and use Composer in your shared hosting environment. Composer is a powerful tool that can greatly simplify the process of managing dependencies in your PHP projects. It allows you to easily install and update libraries and packages, making your development process more efficient and streamlined.
If you have any issues or questions during the installation process, it’s always recommended to consult with your hosting provider for assistance. They can provide guidance specific to your shared hosting environment and help you resolve any issues that may arise.
Now that you have Composer installed, you can take advantage of its powerful features and start managing your PHP project dependencies with ease.
Key Takeaways – How to Install Composer on Shared Hosting?
- Composer is a dependency management tool for PHP.
- Shared hosting often has limitations on running Composer directly.
- One way to install Composer on shared hosting is by using SSH access.
- If SSH access is not available, you can try using the hosting control panel.
- Another option is to use a PHP package manager like PEAR or Phar.
To install Composer on shared hosting, follow these simple steps:
– Connect to your shared hosting account using FTP or SSH. – Create a new directory for Composer. – Download the Composer installation script to your local machine. – Upload the installation script to the new directory on your shared hosting account. – Open a terminal window and connect to your shared hosting account. – Navigate to the Composer installation script location. – Run the installation script using the command provided by Composer’s documentation. – Verify the installation by running the “composer” command in the terminal.Now you have successfully installed Composer on your shared hosting account!